Table of Contents
ToggleAdding Your Business to Apple Maps - Step by Step
In four easy steps, you can have your business claimed, verified and listed on Apple Places on Maps, Apple’s version of Google Local or Bing Local.
1) Log in with Your Apple ID
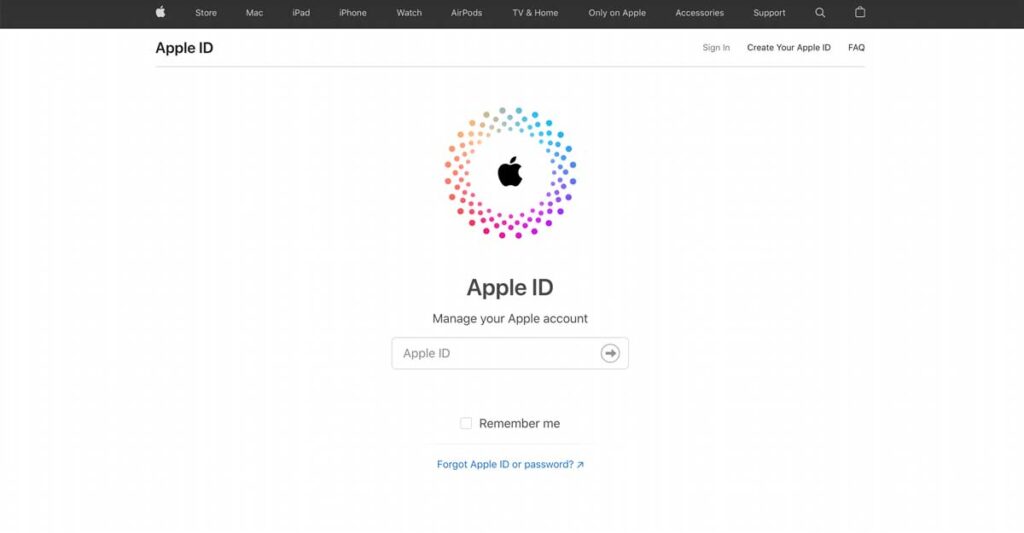
Visit this link and sign in with your Apple ID: https://appleid.apple.com/#!&page=signin
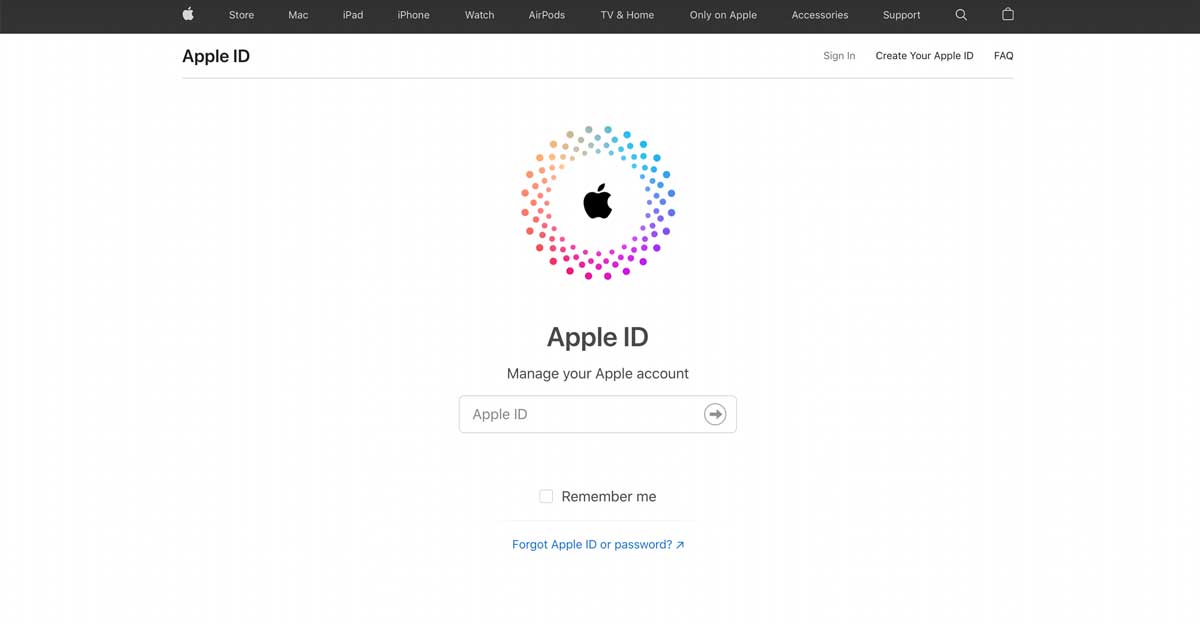
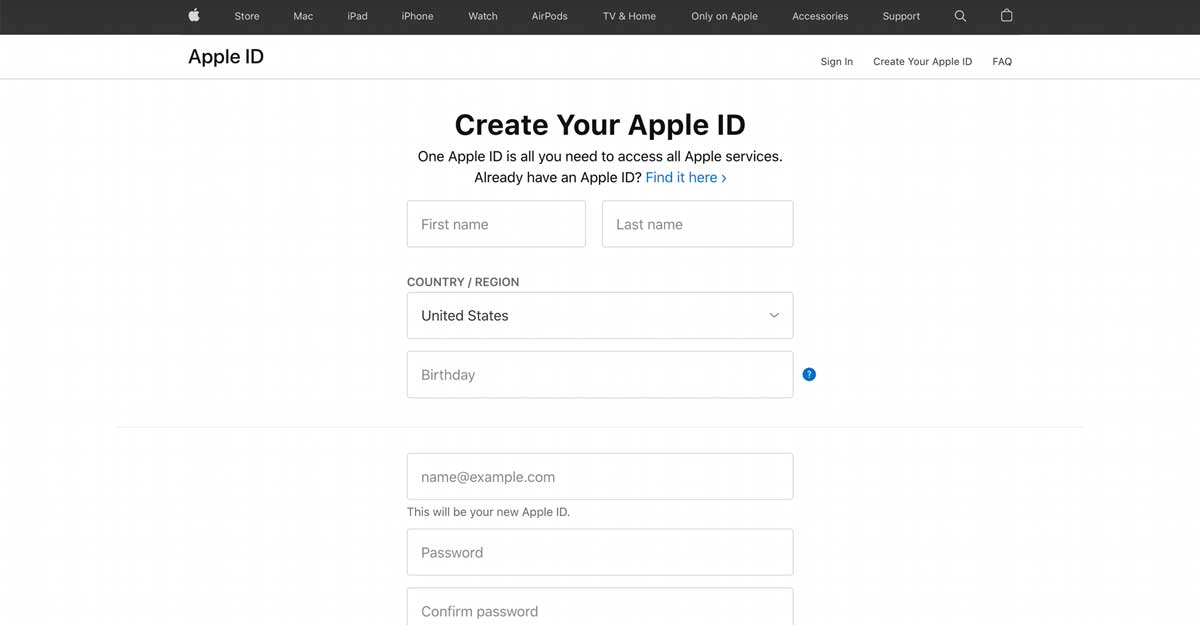
If you do not have an Apple ID, go here to sign up:
https://appleid.apple.com/account
It’s a short signup form that asks for basic contact information plus birthday.
2) Claim your Business Listing
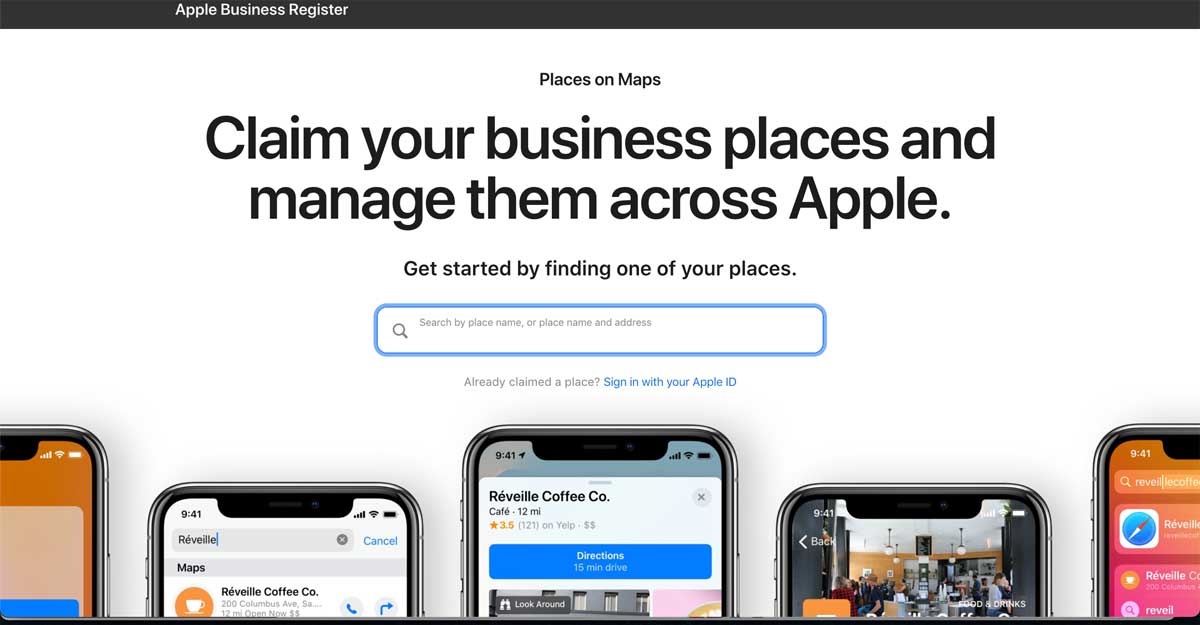 Visit Apple Places on Maps (previously known as Apple Maps Connect).
In the URL bar, enter the name of your business. As you type, the system will search and display your business automatically in most cases. Click on your business. A new screen opens; click the “Claim this Business” button.
If your business comes up but it has outdated address information, click on it anyway and proceed to edit the listing and correct the data. Do not create a new listing.
If it does not display your business, it will show “No results” with an option to add the business.
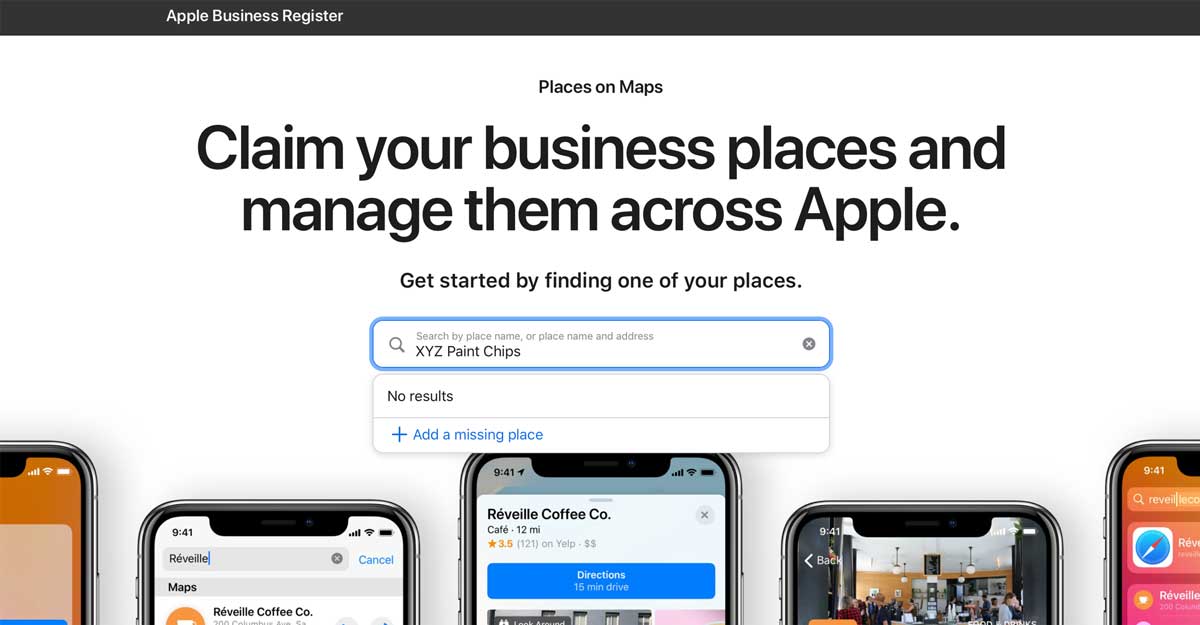
Important: Places on Maps replaces Maps Connect. If you managed business places in Maps Connect, use the Places on Maps replaces Maps Connect. If you managed business places in Maps Connect, use the same Apple ID to sign in to Places on Maps to continue managing your places. to sign in to Places on Maps to continue managing your places.
3) Optimize Your Listing
Your goal in this step is basic optimization, not to become your own SEO whiz.
The number one thing is accurate information. Make sure that your address, hours, phone number, and associated social media accounts are all up-to-date.
Make sure the listing matches what you have elsewhere on the internet; it’s important to have agreement between all your various sources so the search engines can properly index your business and tie everything back to your website.
It is helpful to add keywords to your listing so the search engines understand what your business offers. These can be the general services you perform, they need not be overly specific. Think in terms of broader categories, not brand names or other types of specific microdata.
4) Verify your Business on Apple
When you’re ready to verify, Apple will call your business number. If it is not business hours or there is no one there to answer the phone, wait until a better time to complete this step.
This is a crucial step. Your listing will not be verified if you don’t complete this final verification.
